Linking a Device to the Hub
- Emma Paton (Unlicensed)
- Sam Goddard
Before a new device can be used in the field, it must be linked to a hub using the Remote Sampler desktop client. This step send the correct communications settings across to the device and can also be used to connect existing devices to a new hub.
Follow the numbered steps on the image below for the device that is to be linked to the current hub. In the case of the image below, Device1 will be linked to the Clean workgroup hub Training_Hub. A device may only be linked to one hub at a given time.

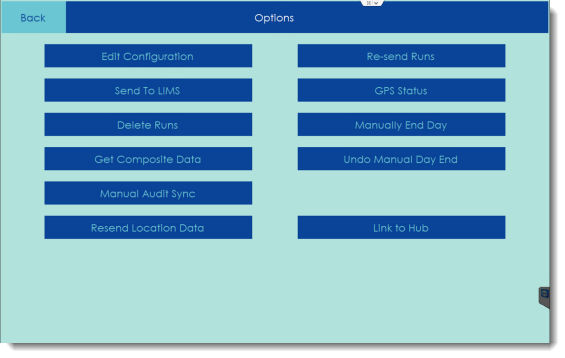
Upon pressing the Link to Hub button, a QR code will be shown on the screen.

Open up the Remote Sampler client on the device. If this device has never been used before, a prompt will be displayed for a QR code to be scanned. If the device is an existing device that is linked to an existing hub, the link to hub feature can be accessed by tapping the Options button on the Home screen.

When the options screen is shown, tap the Link to Hub button in the bottom right of the screen.
When the link screen is shown, use the barcode scanner on the device to scan the QR code on the desktop client screen (use the A2 button on a Panasonic FZ-G1). Following a successful scan, the new connection settings will be displayed on the screen.

Tap the apply button to use these settings.

To complete the linking process restart the Remote Sampler device client.
Warning
If this is the first time that the device has been used, it will need to be activated before it can be used. Device activation should be performed by a user on the Remote Sampler Desktop Client.