Capturing Sample Images
- Emma Paton (Unlicensed)
- Sam Goddard
When completing a sample, there may be cause for the sampler to capture images. With Remote Sampler it is possible to capture images and attach them to a sample. The images will be sent back with the sample data and will appear on the final printed report. Sample images can be captured on many screens related to the current sample.
An image can be captured where the notification bar shows the camera symbol as shown below.
![]()
Clicking on the camera symbol will take the user to the Sample Images screen.
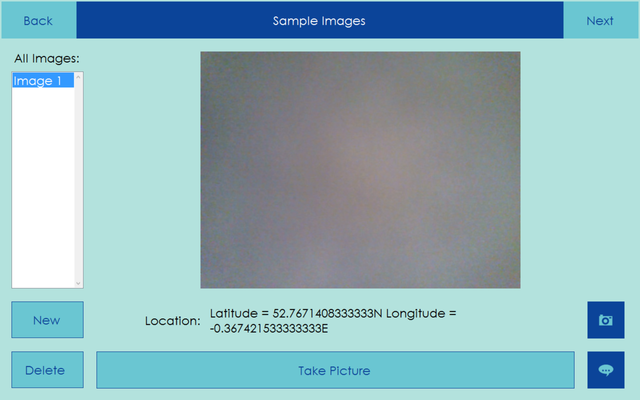
To take an image the user simply needs to hit the Take Picture button.

If the device has multiple cameras they can be switched between by pressing the camera icon.
![]()
If there is an issue such as blurriness an image can be retaken by hitting the Try Again? button. This button will appear in place of the Take Picture button after an image has been taken.
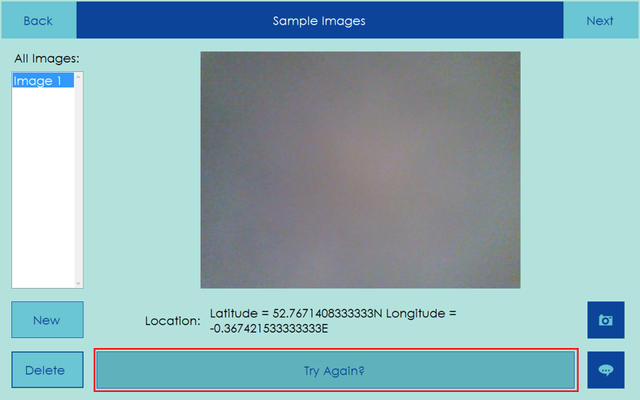
More than one image can be taken, to take more pictures click the New button.
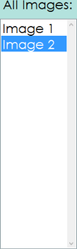
The user can see how many images are attached to a sample in the All Images list.
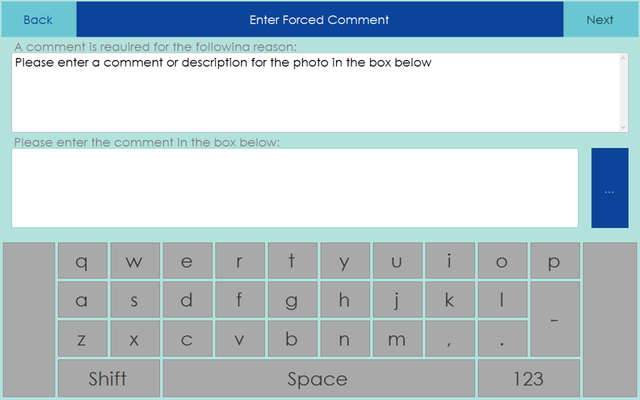
A user may need to explain why that have captured an image and so Remote Sampler allows a user to attach comments to an image by clicking on the speech bubble icon.
![]()
The comment screen will appear and allow a user to enter a comment for the selected image (the comment can be filled out and confirmed as any other comments).
When an image has an associated comment the speech bubble icon will appear yellow and the comment can be edited by clicking on the icon again.
![]()
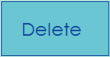
If an image has been taken but is not actually needed it can be deleted by pressing the Delete button
To continue on with the sample when the appropriate images have been taken the user can hit the Next button